Items you will need
- A Raspberry Pi (anything except the Pi Zero)
- An 8gb sd card
- An sd card reader
- Raspberry Pi Imager
Imaging the SD Card
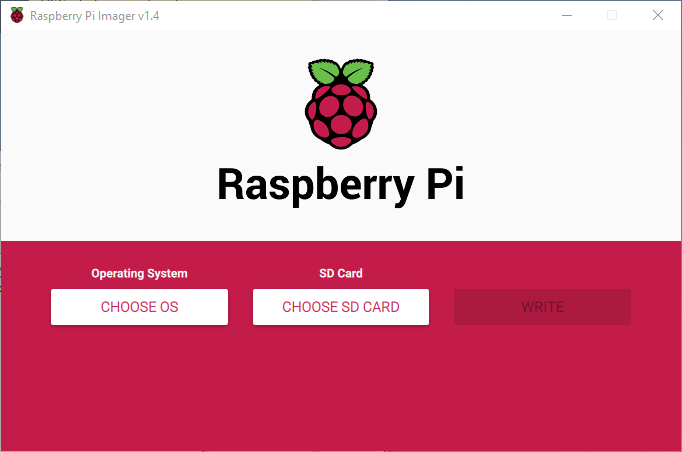
Our first setup will be to install the Raspberry Pi Imager. You can retrieve the imager from here
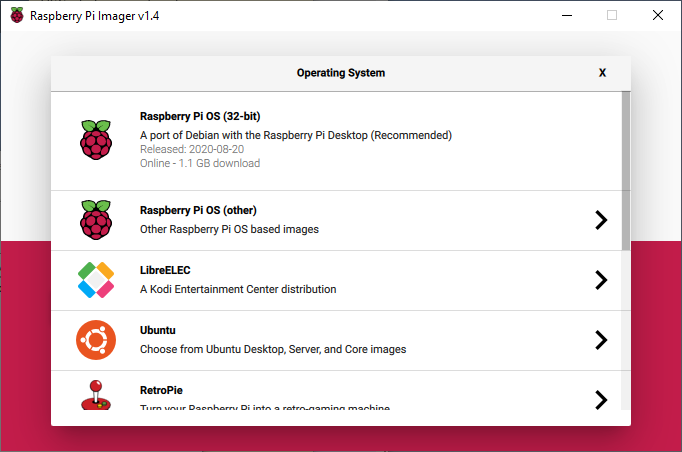
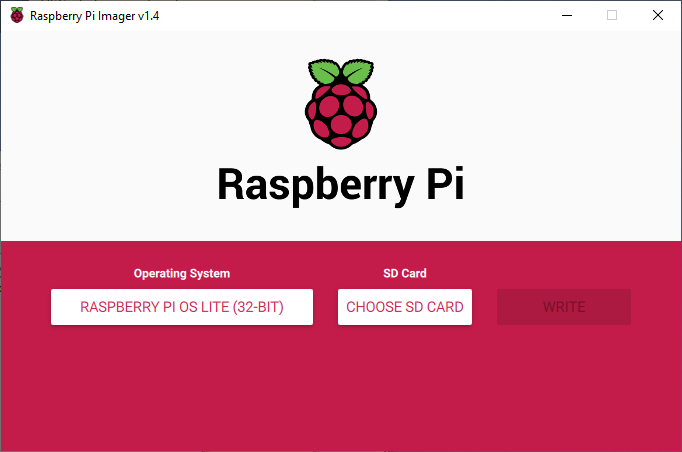
After downloading and installing the imager you will be presented with the following options. Select 'Choose OS'.
Next, select 'Raspberry Pi OS (other)'.
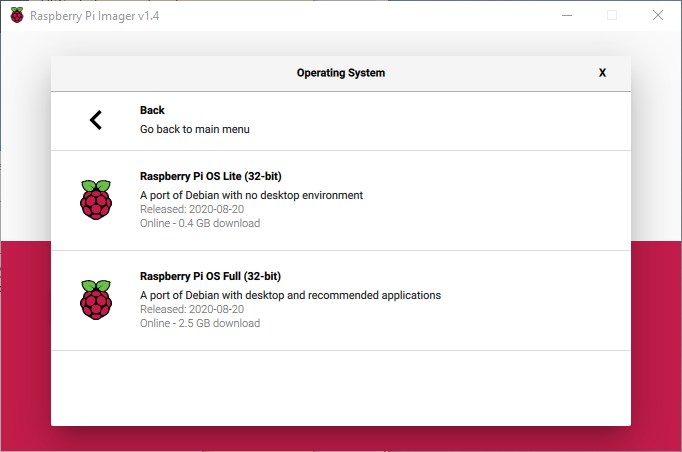
For this tutorial, I do not need a desktop environment so I have chosen 'Raspberry Pi OS Lite (32-bit)'
Next, we will need to choose an SD card.
It may take your system a few moments to scan all available drives. I highly recommend not having any additional sd cards or USB storage media attached to the system at this time.
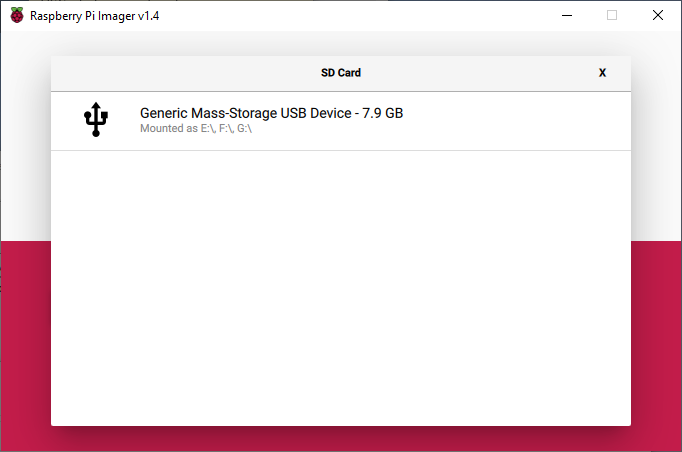
I am reusing an sd card from an older project that has already been set up with an early version of Raspbian. As such it already contains 3 partitions. This is not an issue as the imager will completely wipe any existing data on the drive before installing our new Raspberry Pi OS Lite image.

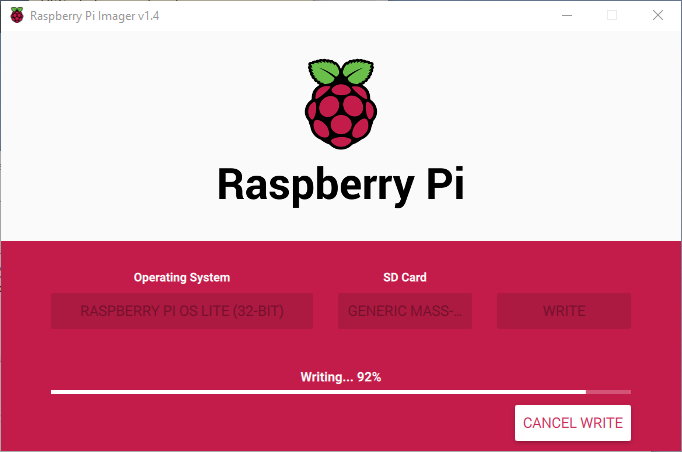
The imager will begin writing the new 'Raspberry Pi'Lite image to the sd card.
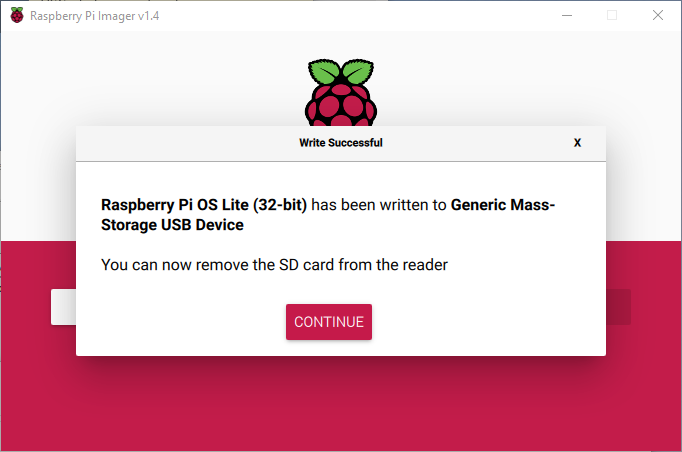
At this point, it will tell us to remove the sd card from the reader. Do not do this yet as we still have some changes to make.
The SD Card
You should now have a drive listed in the Windows explorer labeled 'boot'.
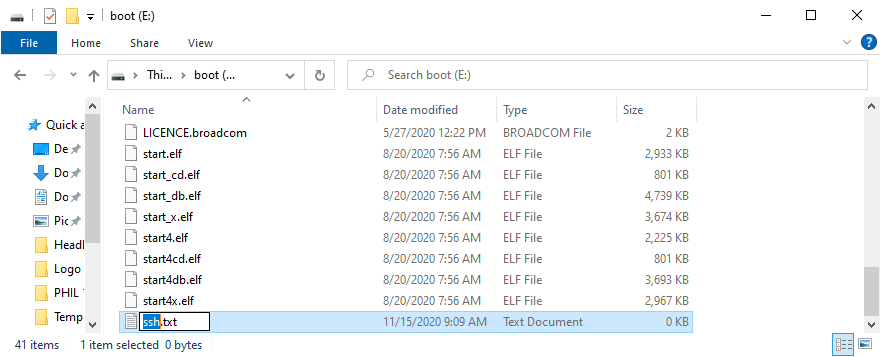
Open the volume labeled 'boot' and create an empty text file named 'ssh'. Placing the empty text file in the root of the boot volume tells Raspberry Pi OS to enable ssh which we can then use to connect to and configure our Raspberry Pi.
If you are connecting to your Pi via Ethernet, at this point you should be able to boot up the pi with our sd card and skip to the Connecting Remotely section.
WiFi setup
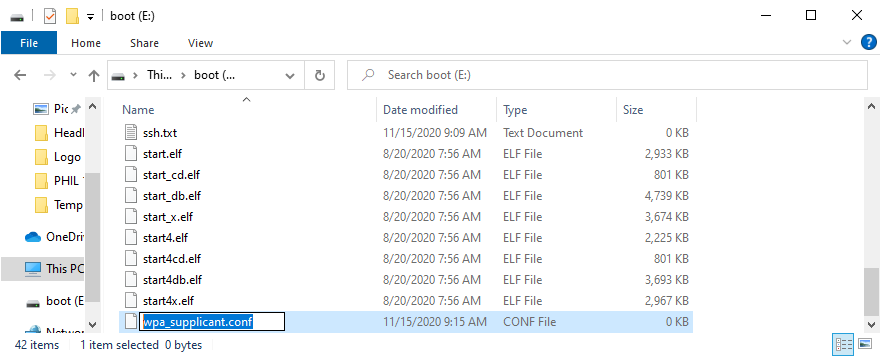
I am using WiFi so I need to create an additional file in the root of the boot volume called wpa_supplicant.conf.
You can find additional information regarding the wpa_supplicant.conf at raspberrypi.org
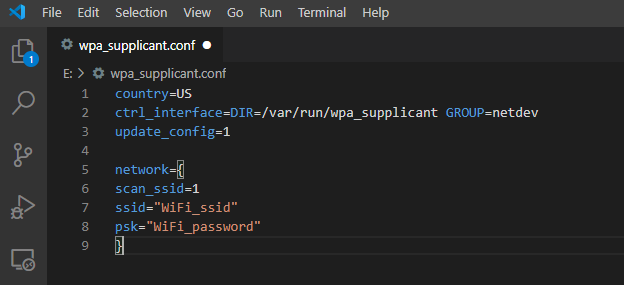
Open the wpa_supplicant.conf file in your favorite text editor and enter the following information about your WiFi network. I will be using VS Code for this however you can use any text editor.
Change the SSID to your WiFi's SSID and set the password to your password. Set the country code to your specific country. If you don't know your country code you can find it at https://www.thinkpenguin.com/gnu-linux/country-code-list
Connecting Remotely
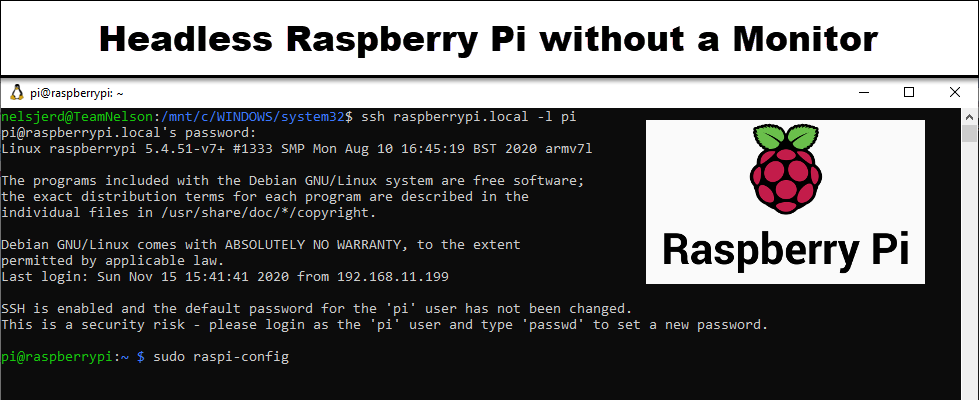
If everything went well, then you should now be able to connect to your Raspberry Pi via an ssh client such as Putty, via wsl on Windows 10 or via any Unix/Linux machine. Your username is pi, your password is raspberry.

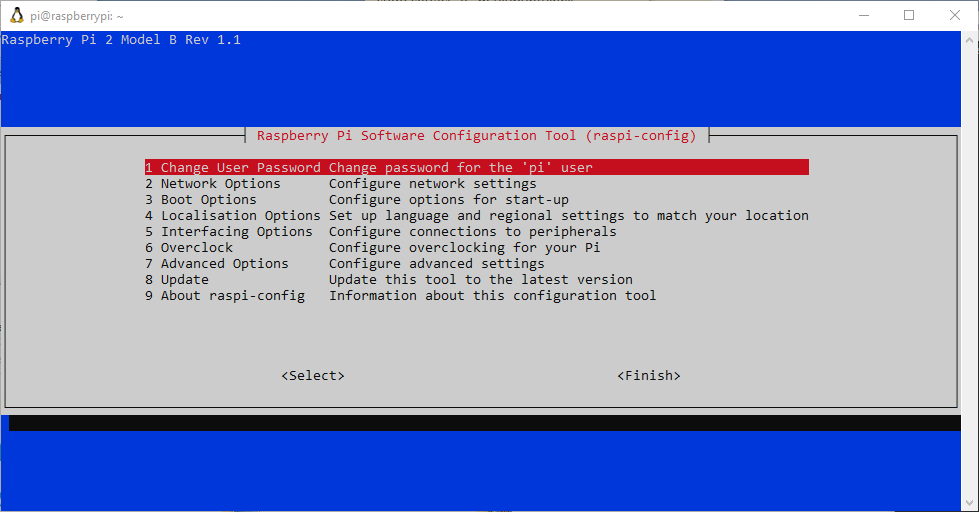
At this point, I highly recommend running raspi-config to finish configuring your Raspberry Pi OS device including changing your password.
That's it. You're done, you now have a fully up and running headless Raspberry Pi without having to connect it to a monitor or keyboard.