I was roaming through MicroCenter earlier this week hoping beyond hope that I might stumble across a new Raspberry Pi without having to pay the ungodly scalpers prices on Amazon and Ebay. No luck laying my hands on a Pi 4, or a Pi Zero 2. They did however have quite a few Pi Picos in stock. I thought about what I might be a able to do with one for a few seconds, then proceeded to purchase 2. At $4 a piece how could I not?
What You Need
- VS Code ~ https://code.visualstudio.com/
- Raspberry Pi Pico w/OTG Cable ~ (Paid Link)
Getting the Pico ready for MicroPython
Out of the box, the Pi Pico supports C/C++. We can however install a MicroPython interpreter directly onto the Pi Pico. Doing so is relatively straightforward. Following the instruction from raspberrypi.com, all we have to is push and hold the BOOTSEL button, connect the Pico to your computer, then release the BOOTSEL button.
This allows us to view the Pico's onboard storage as a mass storage device.
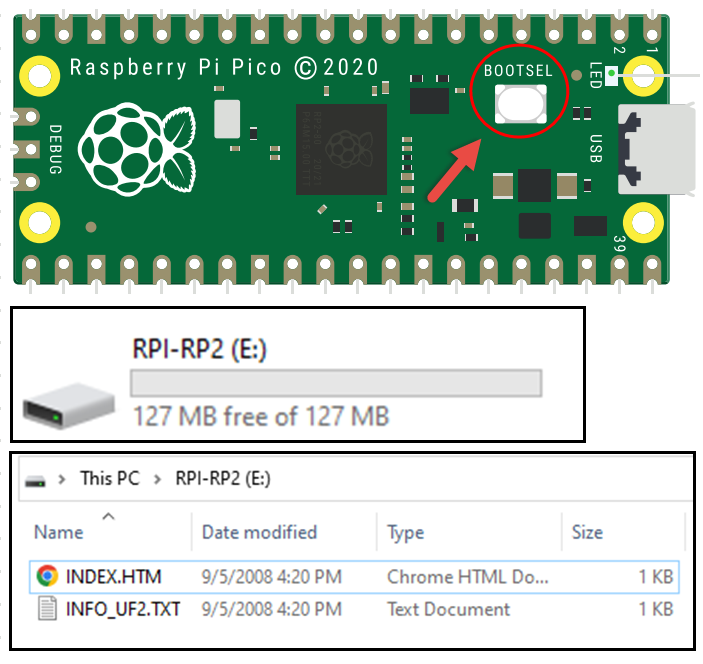
Now that we can access the internal storage, we need to install the MicroPython Interpreter. Raspberrypi.com provides a MicroPython UF2 file for this very purpose. Drag and drop this file onto your Pico.
Your file browser window will immediately disappear after the file transfer is complete. Don't be scared, this is by design. The Pico is rebooting and and you now have the MicroPython interpreter installed.
Setting up the Development Environment
The recommended IDE for MicroPython is Thonny however as you can tell from many of my other articles, my preferred IDE is VS Code. Luckily a charitable soul by the name of Chris Wood has already provided a VS Code extension Called Pico-Go to interact with the Pi Pico.
- If you don't already have it, install VS Code
- Install the Pico-Go Extension
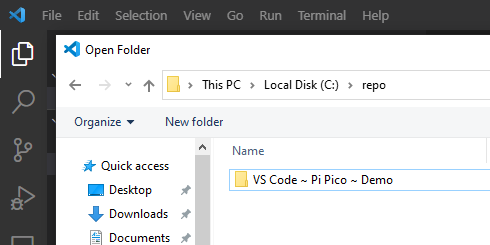
- Create and open a new project folder
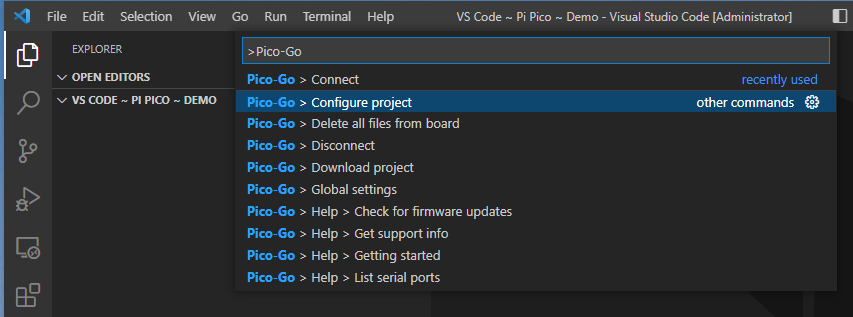
- Access the VS Code command Pallete. On Windows this is access via CTRL_SHIFT+P
- Find and Run Pico-Go > Configure project
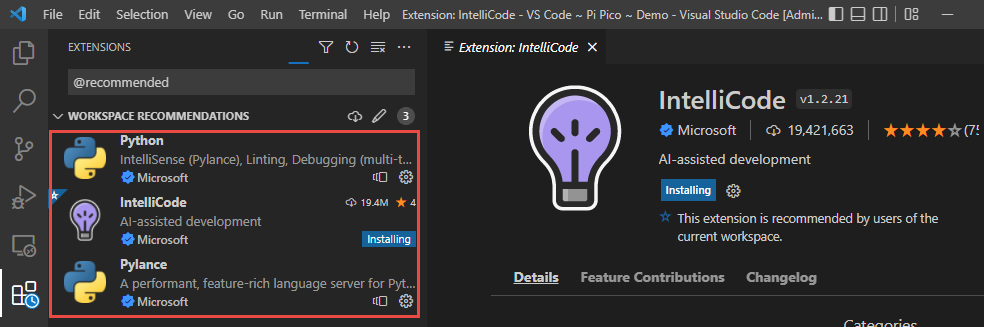
- Install any recommended extensions for your new workspace
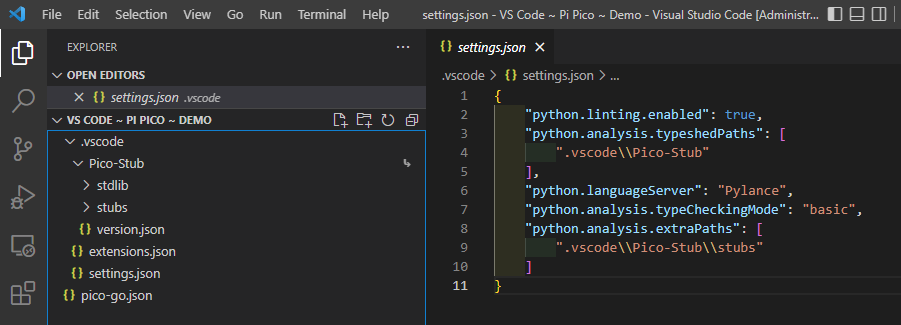
This will create several files in your workspace
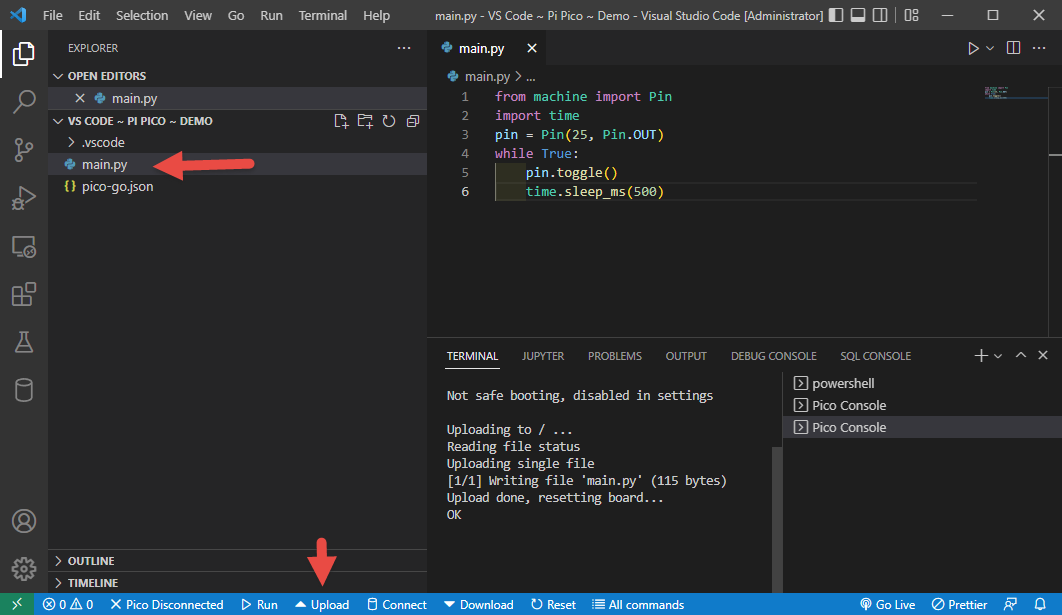
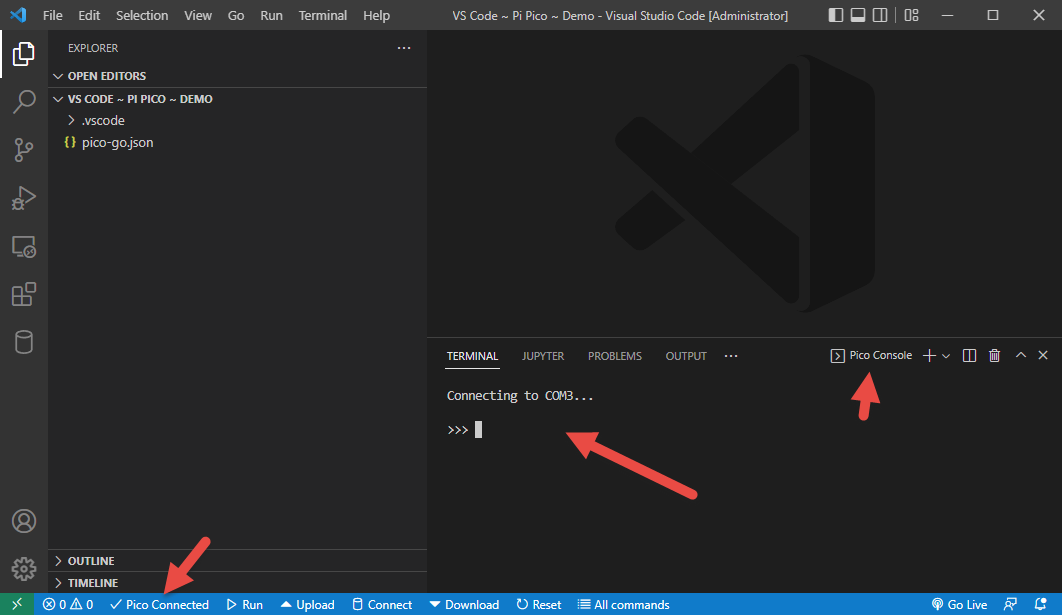
Click on Pico Disconnected to connect to your Pi Pico. After connecting, a new pico terminal will start. This is an interactive session with your Pico. All code run in this terminal will execute on your Pico, not on the local system.
Where the Fun Begins
In the terminal, test your Pico's Python interpreter by typing
from machine import Pin
pin = Pin(25, Pin.OUT)
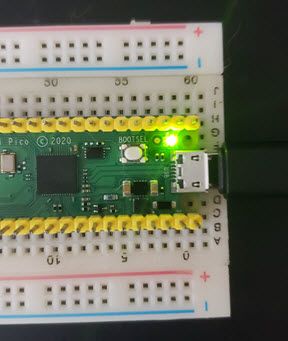
pin.toggle()If everything is setup and connected properly, the LED on your Pico should now be on.
Toggle pin 25 again.
pin.toggle()The LED on your Pico should now be off.
In the above code we are accessing the Pin class from the machine module in MicroPython. The Pin class gives us direct control of the various GPIO pins on the Pico. The LED is on GPIO pin 25. We instantiate a new instance of the Pin class assigned to pin 25, and configure this instance of pin 25 to be an output. We want this to be configure to output because we will be sending information to it, not receiving. Then we toggle Pin 25's current state.
We can retrieve the pins current state using
pin.value()But what if we want to execute a py file on the Pico every time it powers up
First lets create a new file in VS Code called blinky.py. In this file type the following
from machine import Pin
import time
pin = Pin(25, Pin.OUT)
while True:
    pin.toggle()
    time.sleep_ms(500)
In this file we are doing the same toggle we did above, but we are toggling pin 25 every 500 milliseconds.
After saving this file click run to test. If the LED begins blinking then you know it works.
Next lets rename our file blinky.py to main.py. After doing so, click upload. Alternatively, you can also directly copy the main.py file to the Pico via the command line or the file browser. After the Pico reboots, the LED should toggle every 500 milliseconds. Give it a try by plugging the Pico into any USB port that provides 5v power.