While taking some time off from my day job I decided to work on the website a bit. First thing I wanted to do was add an "About the Author" snippet at the bottom of all posts. Logging into the dashboard I found a notice that it's time to update to Ghost 5.0. I decided to give it a go.
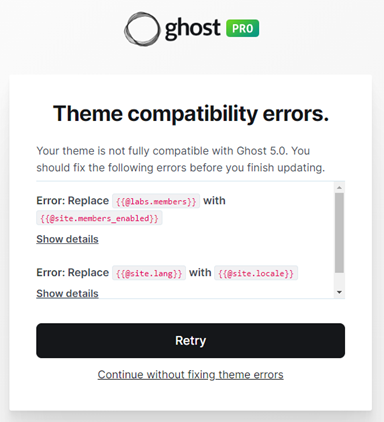
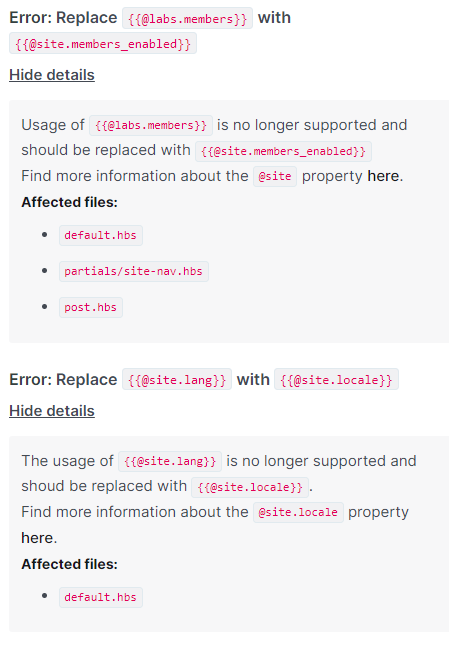
Going through the update process, I encountered some theme compatibility error messages.
These should be relatively easy to correct right? Luckily I had already written a post on exactly how to edit Ghost themes. https://www.maketimelabs.com/editing-your-ghost-blog-theme-with-docker-and-windows-10/
First thing I did was whip out the Windows Terminal. If you are a Windows user and you don't have this yet, I highly recommend it. In Windows Terminal I loaded an Ubuntu WSL instance and installed Docker.
sudo apt update
Per the Docker install instructions at https://docs.docker.com/engine/install/ubuntu/
sudo apt-get install ca-certificates curl gnupg lsb-releasesudo mkdir -p /etc/apt/keyringscurl -fsSL https://download.docker.com/linux/ubuntu/gpg | sudo gpg --dearmor -o /etc/apt/keyrings/docker.gpgecho "deb [arch=$(dpkg --print-architecture) signed-by=/etc/apt/keyrings/docker.gpg] https://download.docker.com/linux/ubuntu $(lsb_release -cs) stable" | sudo tee /etc/apt/sources.list.d/docker.list > /dev/nullsudo apt-get updatesudo apt-get install docker-ce docker-ce-cli containerd.io docker-compose-pluginsudo service docker startNow that Docker is installed and the daemon is running, I used the same docker run command as in my previous article but I substituted the newer Ghost 5.2.2 container. This downloaded the new container.
sudo docker run -d --name maketimelabs_update -e url=http://localhost:3001 -p 3001:2368 ghost:5.2.2To ensure that our new container is running
sudo docker container ls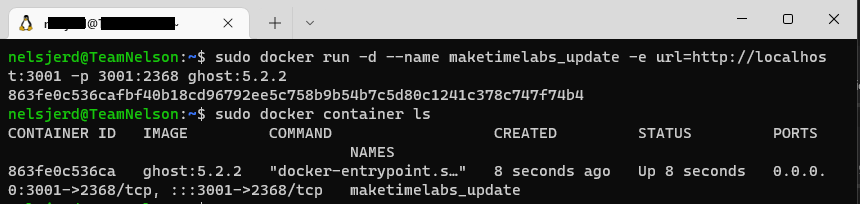
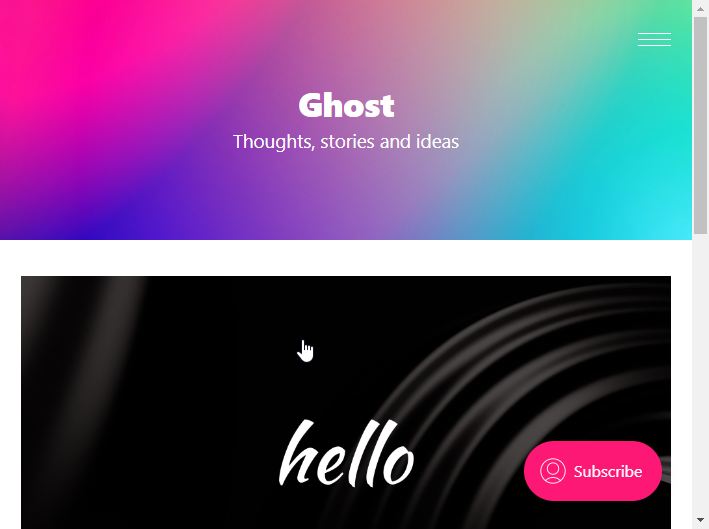
You can checkout the new version of Ghost running the default theme by browsing to http://localhost:3001/
Now we just need to see if the new version of Ghost stores the themes in the same location. In order to do this, we can connect to the bash shell inside inside the container user 'docker exec -it <container name> /bin/bash', then use the find command. We will be searching for the default theme "casper".
sudo docker exec -it maketimelabs_update /bin/bash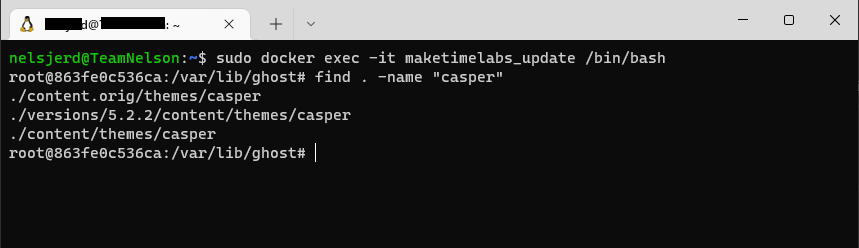
Now that we know where the default theme is located, we can exit the container's shell, shutdown the container, and remove the container in preparation for the next steps
exit
sudo docker stop maketimelabs_update
sudo docker container ls
sudo docker rm maketimelabs_update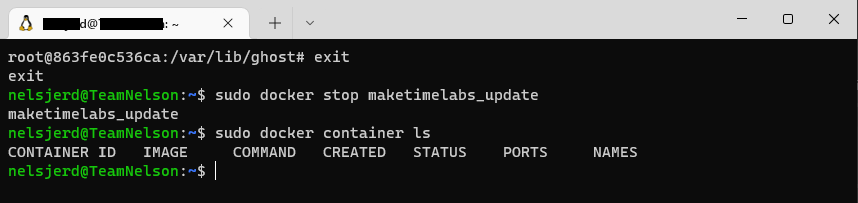
Before we start the container using our custom theme, lets refer back to the error error messages we received during the Ghost update process to see what we need to update.
Download your current theme from your Ghost instance from your.domain.name/ghost/#/settings/design/change-theme
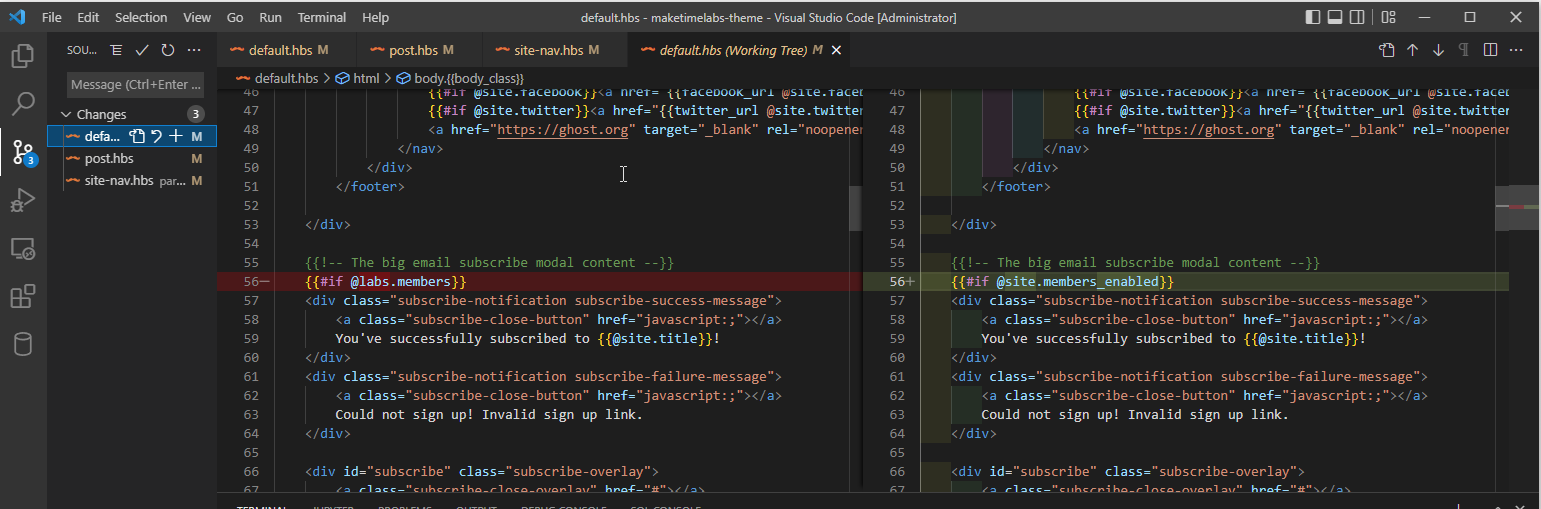
Extract the downloaded zip file to your computer, then open it in your favorite IDE. As always, my favorite IDE is VS Code.
Looking at the error messages, it appears that my theme needs changes in 3 different files.
Relatively straight forward and I made quick work of these changes.
Now to test these changes. Jumping back over to the Windows Terminal, I need to restart the docker container using my custom theme. Using what we learned above about the location of the default theme for this container, we can tell docker to replace these files with our edited theme.
"c:/temp/maketimelabs-theme" is the location I extracted and made changes to the theme I downloaded however this time I am running Docker from WSL. WSL automatically mounts your Windows drives in the mnt folder. So the WSL path to our extracted theme is "/mnt/c/temp/maketimelabs-theme"
Our revised Docker run command is
sudo docker run -d --name maketimelabs_update -e url=http://localhost:3001 -v /mnt/c/temp/maketimelabs-theme:/var/lib/ghost/versions/5.2.2/content/themes/casper/ -p 3001:2368 ghost:5.2.2The above command tells docker to replace the containers contents at "/var/lib/ghost/versions/5.2.2/content/themes/casper/" with our custom theme.
You can browse to http://localhost:3001 again to see if our changes took affect.
Always double check all of your customizations to ensure that everything is working properly before migrating to production. The next step is to update your package.json file to reflect the current version of your custom theme, and the version of Ghost is is compatible with.

Now it's time to update our production Ghost website.
- Login to the Ghost admin dashboard
- Browse to "your.domain.name/ghost/#/settings/design/change-theme"
- Install your updated theme (if you are not using GIT or some other source control, make sure to download a copy of your current theme before installing the new
- Click Update to Ghost 5.0
As long as you made all the necessary changes, you should see Update in Progress
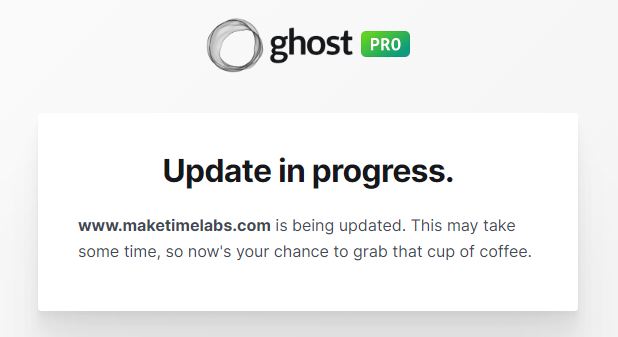
For me the update took about 5 minutes
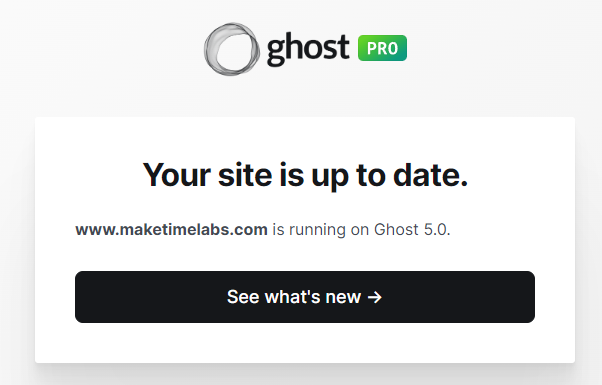
Now it's time to go figure out how to add the Author Snippet at the bottom of each post.