
I have an upcoming project that is unfortunately very difficult to implement in Windows. It is however fairly simple in the Windows Subsystem for Linux (WSL). I do not want to affect my current WSL Linux Distro (Ubuntu 22.04) so I would like to install a second copy of Ubuntu.
First of all, we need to find the tar ball for Ubuntu 22.04 for WSL. With just a bit of Googling, I found this link.
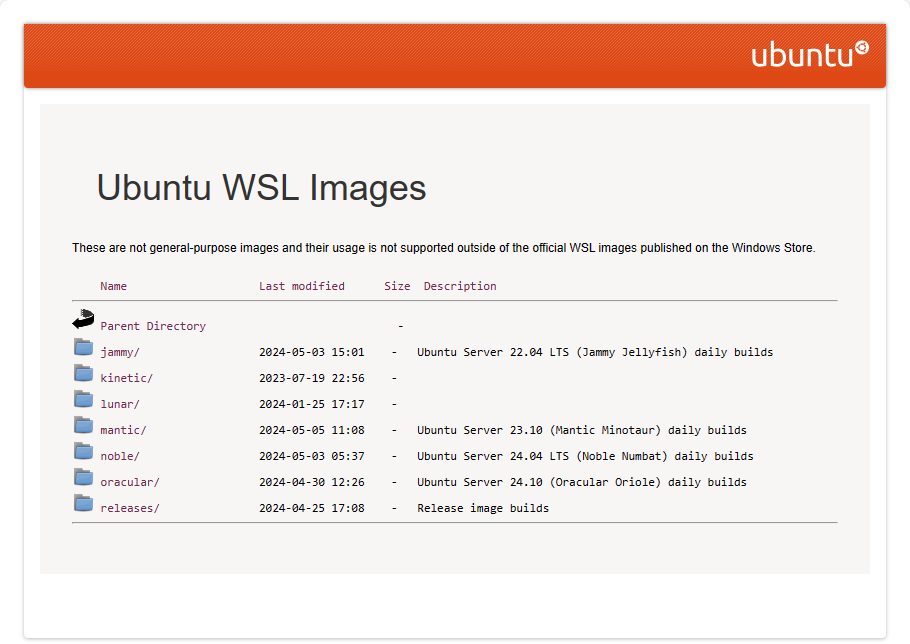
The specific tar ball I downloaded is https://cloud-images.ubuntu.com/wsl/jammy/current/ubuntu-jammy-wsl-amd64-wsl.rootfs.tar.gz
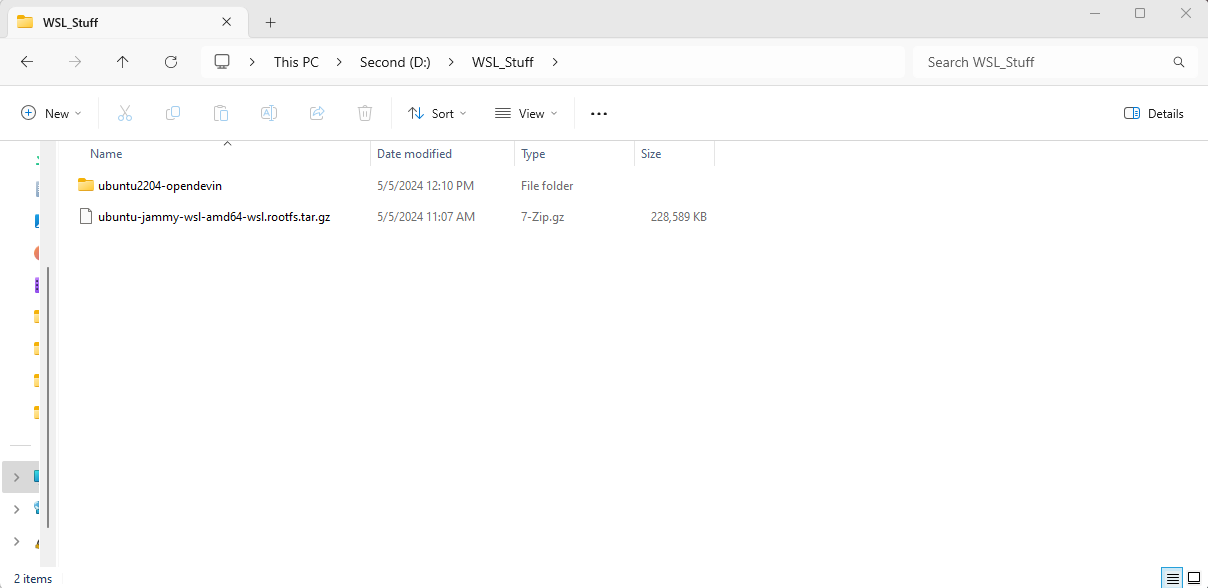
I created a new folder on my D drive called WSL_Stuff. This folder will store the tar ball and once imported, will store the WSL instance of our new Linux Distro.
Now we need PowerShell. To make things easy, if you have a version of windows with Windows Terminal installed, use it. Open Terminal and in a PowerShell tab you will need to type your version of the following
wsl --import <Distribution Name> <Installation Folder> <WSL2 Tarball path>
<Distribution Name> == the name you want to give this new Linux instance
<Installation Folder> == the folder you want to install this new Linux instance
<WSL2 tar ball path> == the path to your downloaded tar ball
wsl --import ubuntu2204-opendevin "D:\WSL_Stuff\ubuntu2204-opendevin" "D:\WSL_Stuff\ubuntu-jammy-wsl-amd64-wsl.rootfs.tar.gz"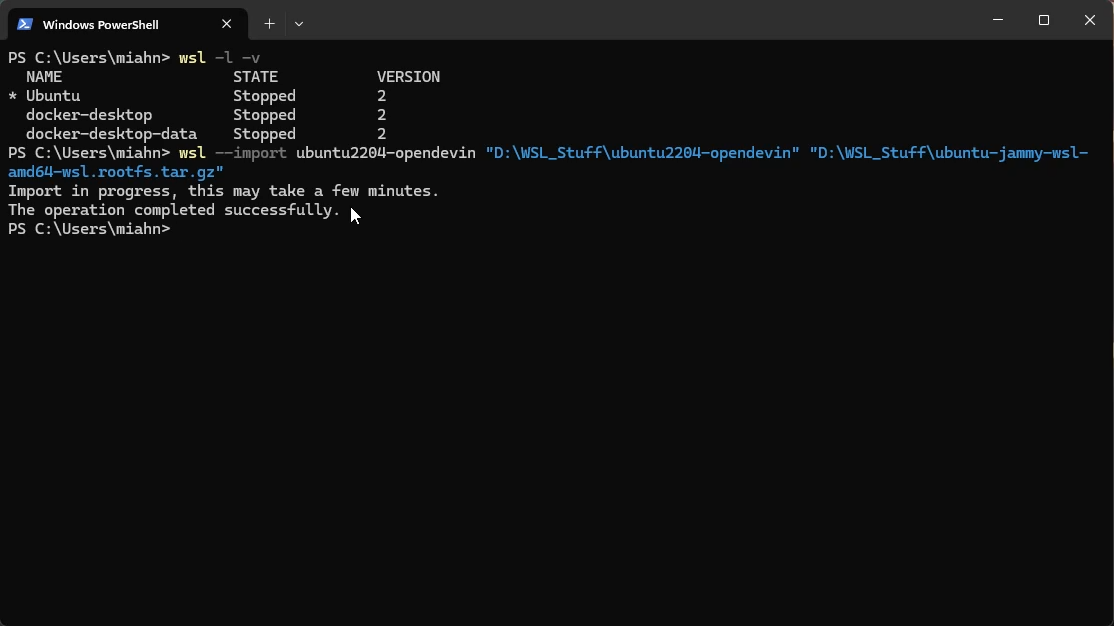
Once complete, we need can verify our new instance
wsl -l -vNow we need to start our new instance using wsl -d <Distribution Name]
wsl -d ubuntu2204-opendevin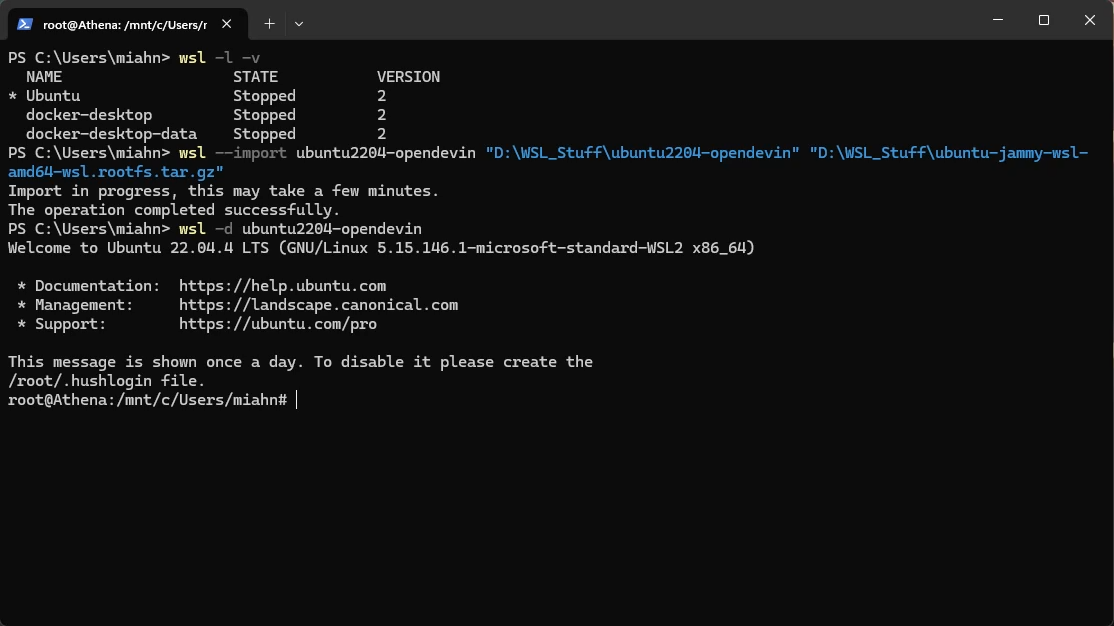
Note that this will open our new copy of Ubuntu logging in as root. We do not want this behavior, so we need to setup a new default user. Start by adding the user
useradd -m -G sudo -s /bin/bash "miahn"Then set a password for this user
passwd "miahn"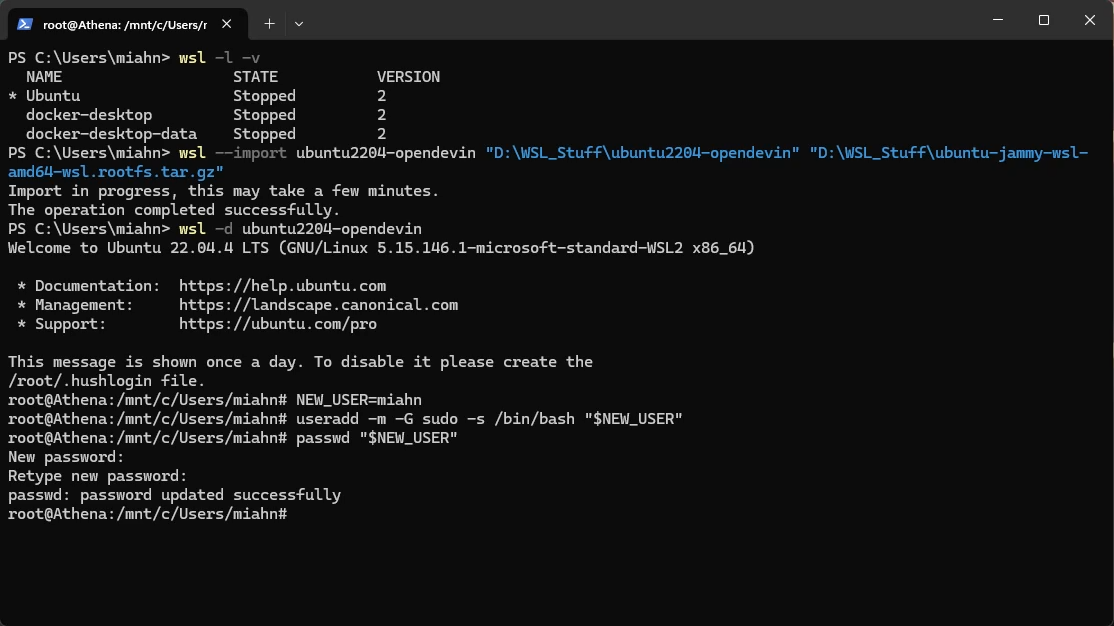
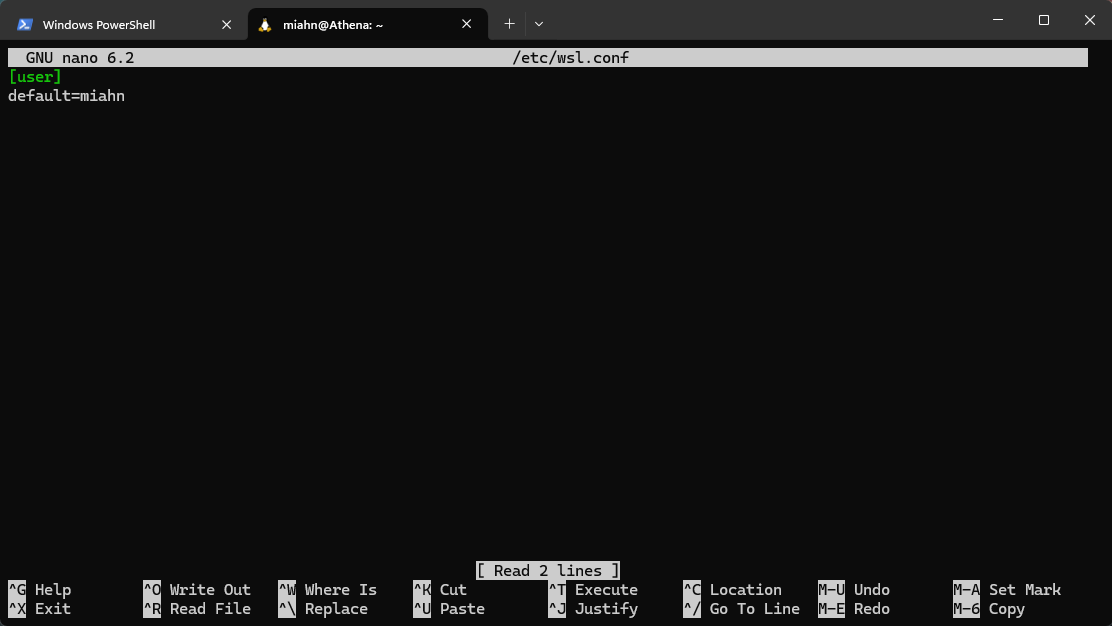
The default user login can we set by creating or editing /etc/wsl.conf
sudo nano /etc/wsl.confAdd or edit the [user] section. Below the [user] heading, add default=<the username you created>
ctrl+s to save, ctrl+x to exit. Then type exit to close the Linux terminal
Back in PowerShell, shutdown all WSL instances
wsl --shutdown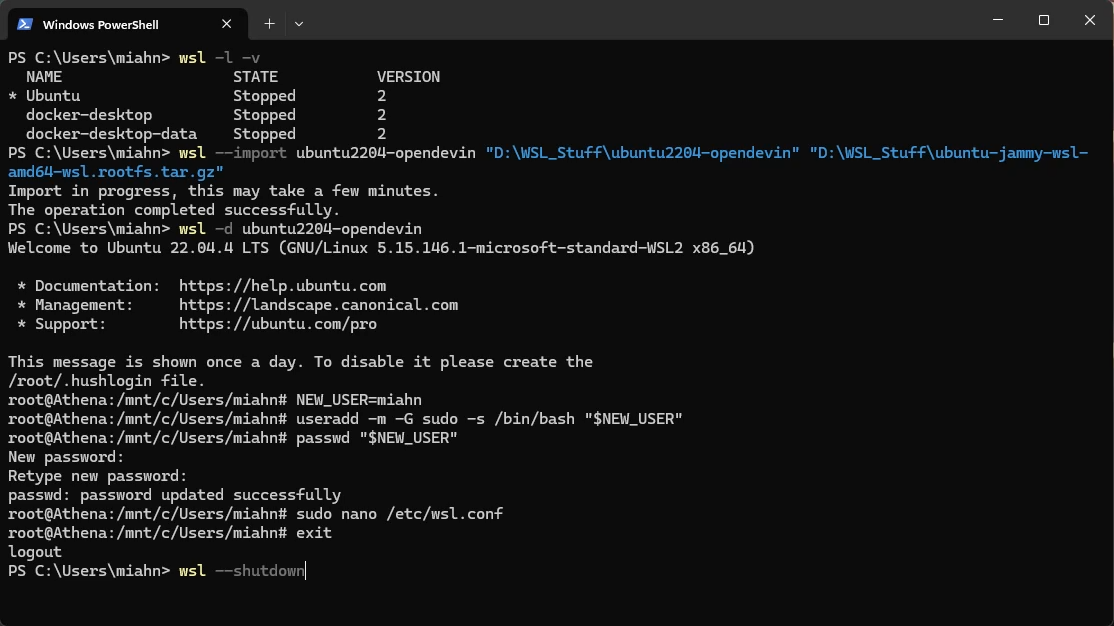
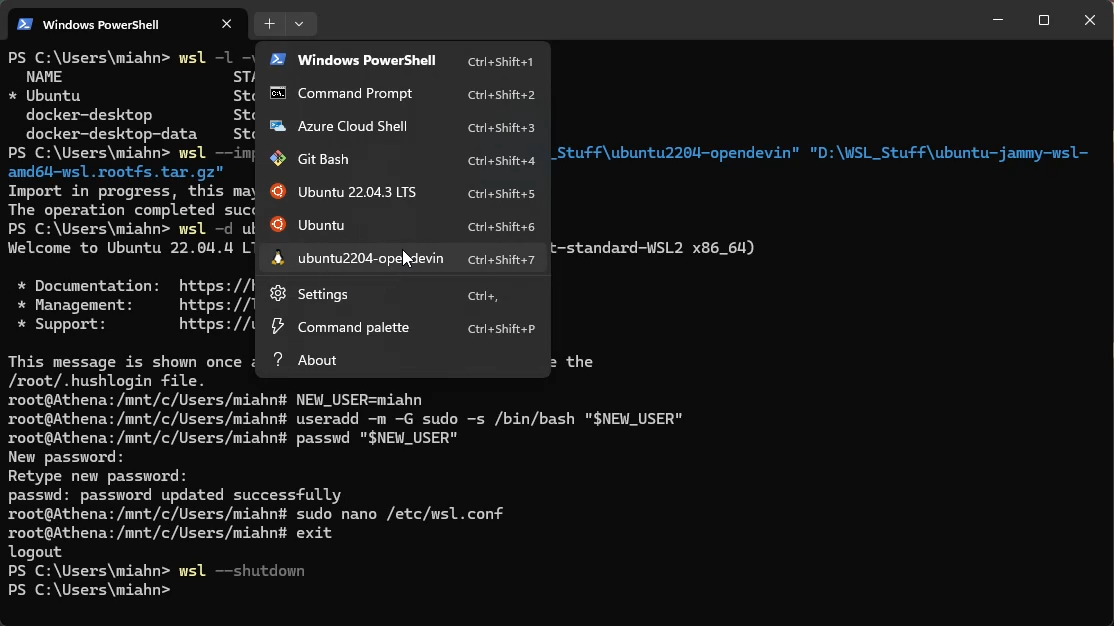
Open a new tab in Windows Terminal and you should see your new Linux instance. You may need to fully close Windows Terminal and re-open it before it appears.
After restarting your new Linux instance you should now be logged into your newly created user.
To finish things up
sudo apt update
sudo apt upgrade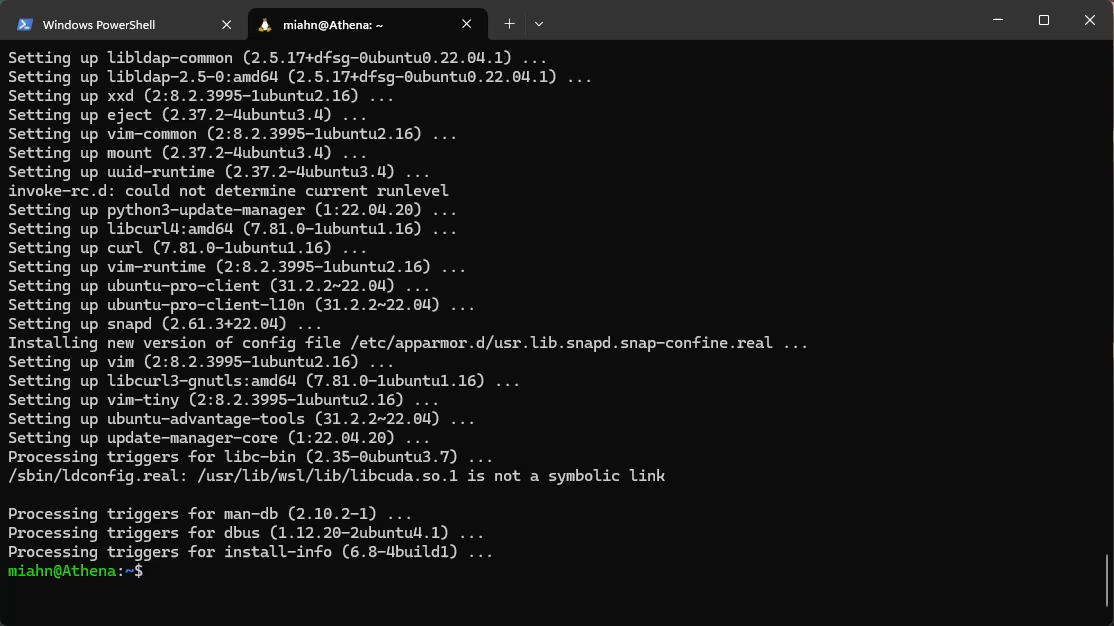
Below is a video of the process, skipping the tar ball download.